|
Certificate Enrollment Instructions for Microsoft®
Windows Internet Explorer
You must perform the following steps to receive your certificate.
We recommend that you print these instructions to
follow along during the enrollment process. The process takes just
a few minutes to complete.
For Windows Internet Explorer operating systems, the
following changes need to be made in the browser.
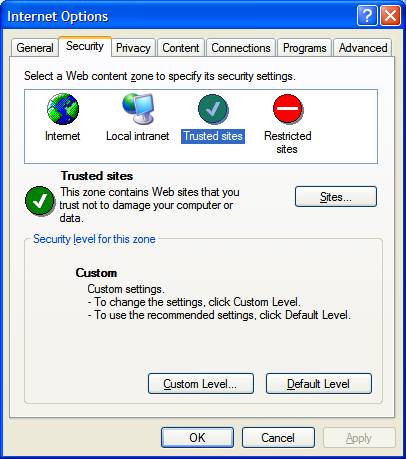
From the Internet Explorer menu
bar, click on Tools, then Internet Options.

Click on the Security tab,
click on Trusted sites, then click on the Sites
button.
Enter
https://*.cert.deluxe.com , click on Add, then click on OK

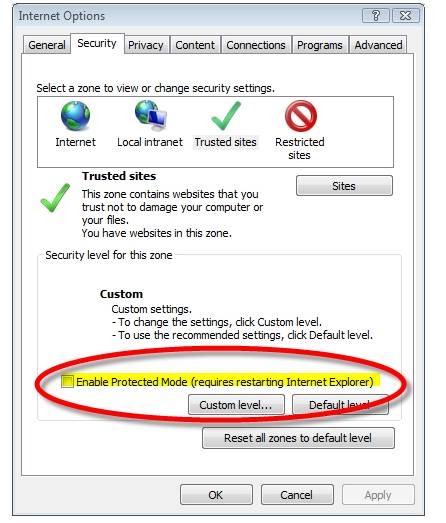
Ensure the Protected Mode is
NOT selected.
Click on Custom Level and
change the security level for the Trusted Zone to Medium
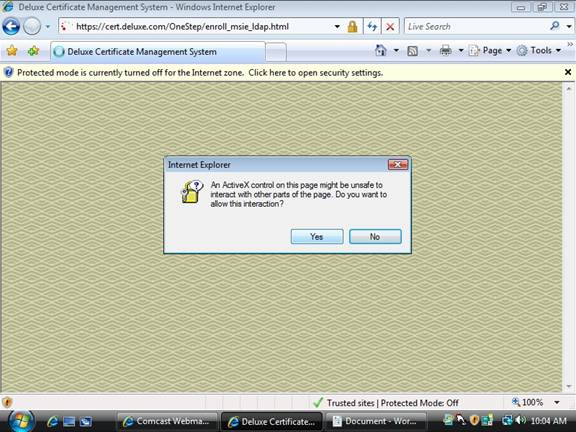
or lower and change the Initialize and script ActiveX
controls not marked as safe for scripting setting from Disable to Enable.

Click
OK.
Clic Yes in the Warning window.

Close all open windows.
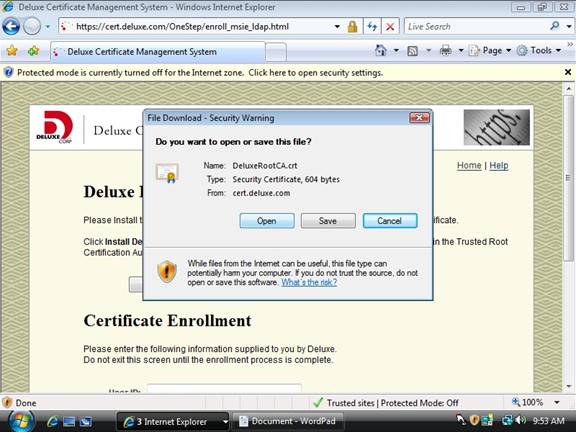
Go to https;//cert.deluxe.com and click Install Deluxe Root CA Certificate (if available) or enter the following URL (case sensitive) https://cert.deluxe.com/OneStep/DeluxeRootCA.crt
Click Install Deluxe Root
CA Certificate.

Click on the Open button
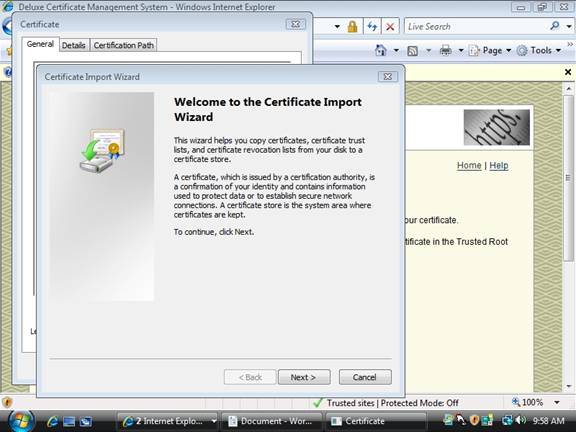
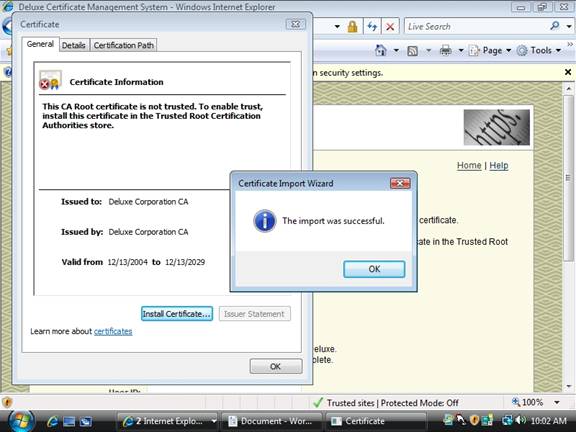
Click on the Install Certificate
button
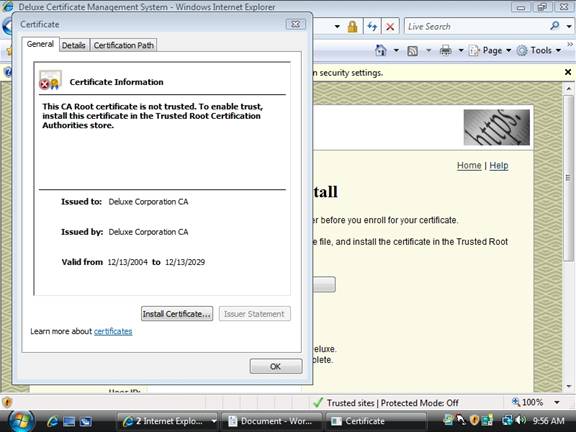
Click on the Next button
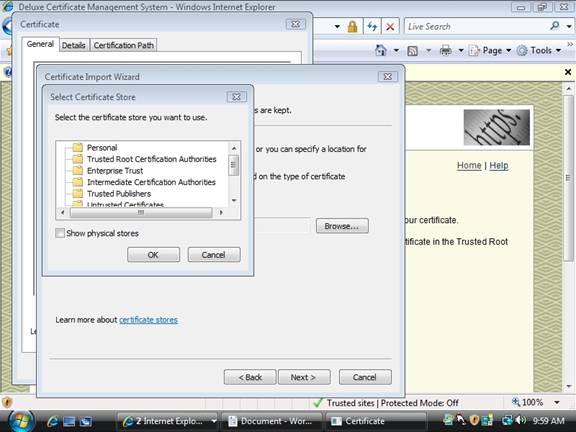
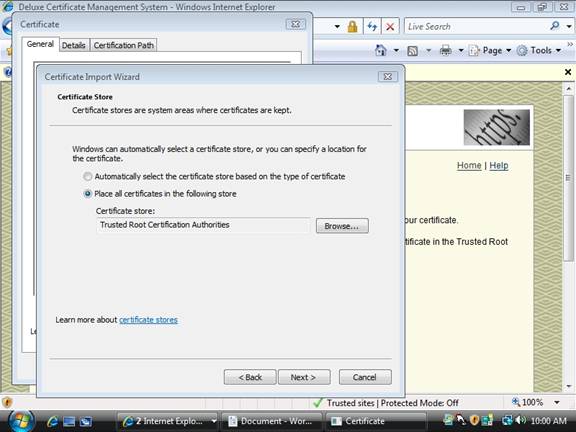
Select the Place all
certificates in the following store and click on the
Browse button.

Highlight the Trusted Root
Certification Authorities and click on
OK
Click on the Next button
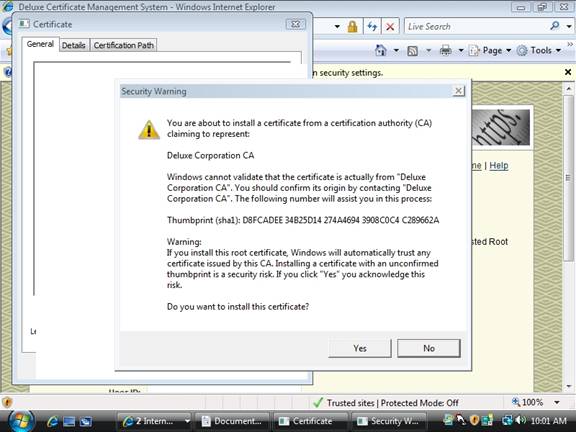
Click on the Yes button
Click on the OK button
Close Internet Explorer
and then reopen. Enter
https://cert.deluxe.com and download the digital
certificate.
If any warning pop up during the
install process, click on
Yes
If the certificate install was
successful the user will see the below screen*
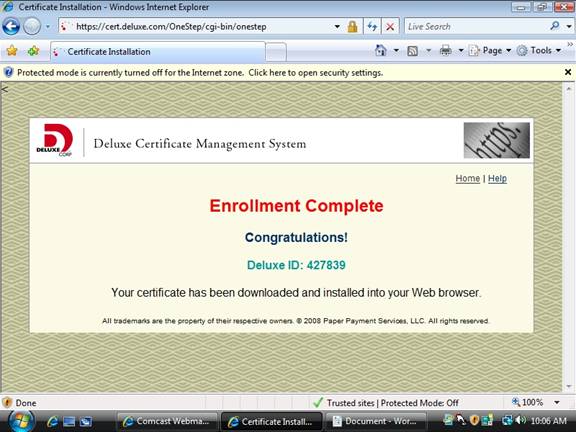
*IMPORTANT: Your certificate may take up to 15 minutes to display in your browser. In the meantime, you may receive the error message below. Please be patient. The certificate has been downloaded from the Deluxe site.
Leave your browser open and after 15 minutes click the back button and you should receive the above confirmation screen.

Troubleshooting
 Go to Troubleshooting Tips.
|


